This year I am in production knitting mode for the basket. I find that I am more broadminded than others, even if I say so myself, on what type of hand knitted items I will wear. Therefore, rather than getting "creative" with my knitting, this year I am sticking with a scarf pattern on which I have received rave reviews from recipients and observers alike--a one-skein scarf using the seafoam stitch. I should carry patterns for this scarf because MANY people, knitters and non-knitters alike, ask me how I made the scarf when I wear one.
I recently drove my parents to Colorado to visit my sisters in Denver and Boulder. When I was not driving, I worked on a seafoam stitch scarf. My mother fell in love with the scarf and decided that she would make one for a Christmas present. However, my mother hates knitting. She hates building fabric one stitch at a time. But, she can't bring her sewing machine with her when she spends a month in Colorado. Therefore, to pass the time in Colorado, she decided that she would knit. Otherwise, she spends all of her time cleaning my sisters' houses. (Somehow, the "keep the house clean" gene did not find its way to any of my mother's three daughters!!)
My mom is an insecure knitter. Every wrapped stitch and evolving pattern in the scarf on her needles is examined for perfection. I keep telling her, "Relax, mom. Blocking will eliminate all the perceived problems and you will have a gorgeous finished object. " She doesn't believe me. She wants it all to be perfect while still on the needles!
This post is my "blocking tutorial" for my mom and for whomever needs a little knitting reassurance on-line. Believe me, it's hard for a scarf to go wrong with the seafoam stitch and some pretty handpainted yarn. (Mom, I know that you are not working with Koigu yarn, and the following photos show a scarf in Koigu. If your scarf doesn't look exactly like this one it's OK. Yours will also be beautiful!!)
Mom, this is for you!
BLOCKING THE SEAFOAM STITCH SCARF TUTORIAL
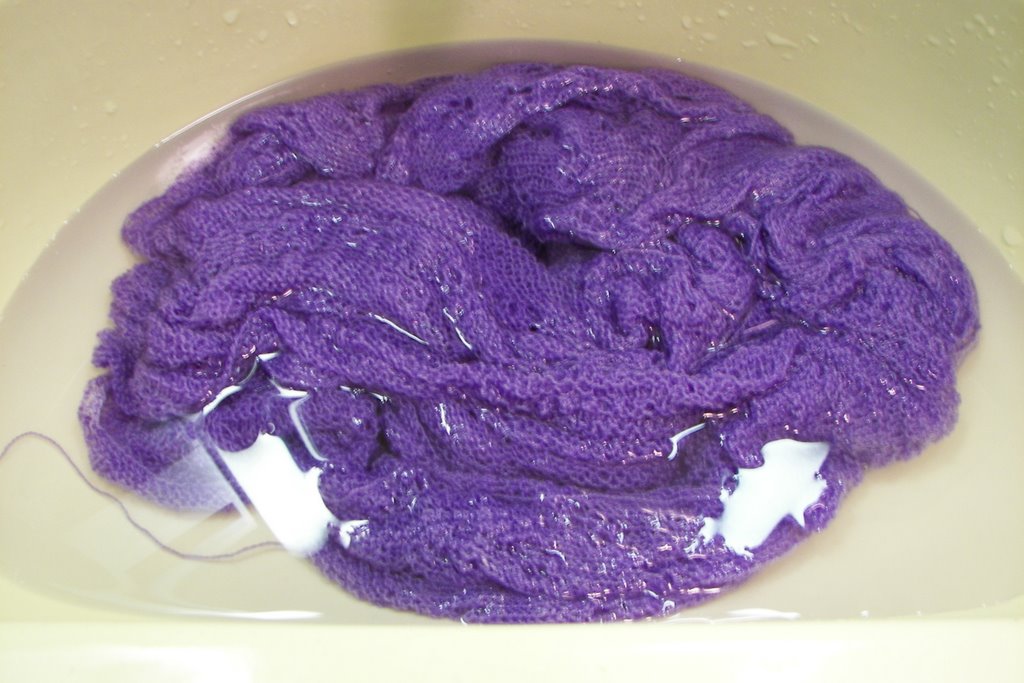
Step 1: Soak the finished item in cool water for 30 minutes.
 See how some of the scarf is dark purple and some is light purple? The light purple portion of the scarf is floating on top of the water. Wait until all of the scarf is underwater! You need to have every little wool fiber saturated with water. That's why I said to soak the scarf for 30 minutes. If your scarf is saturated in 15 minutes, move to step 2. Don't shortchange the soaking.
Step 2: Squish the water out of the scarf by pressing it against the side of the sink bowl. (Oh, don't forget to pull the drainplug first!!) DO NOT WRING the scarf. Just gently squish it against the side of the bowl. Don't worry if the scarf is still dripping when you move to step 3.
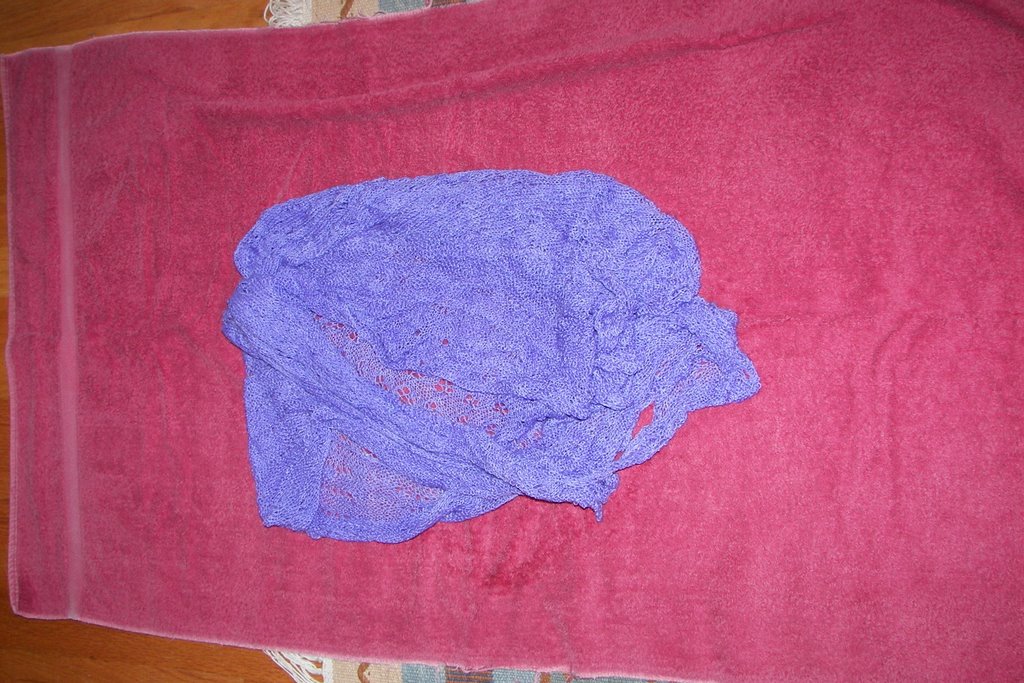
Step 3: Plop the scarf onto a towel and fold the towel over the scarf.
 Step 4: Stomp on the towel.
 Step 5: Spread out the scarf on a bed sheet on top of a bed or on a floor carpet. I spread a bed sheet out on the living room floor carpet. You need something underneath the sheet into which you will stick pins.
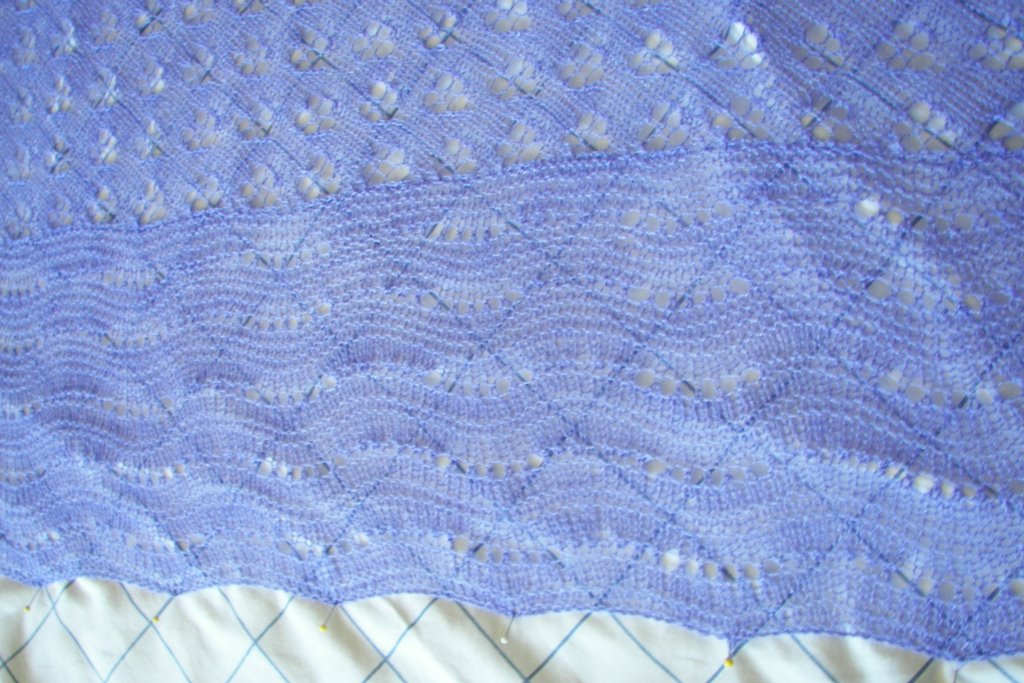
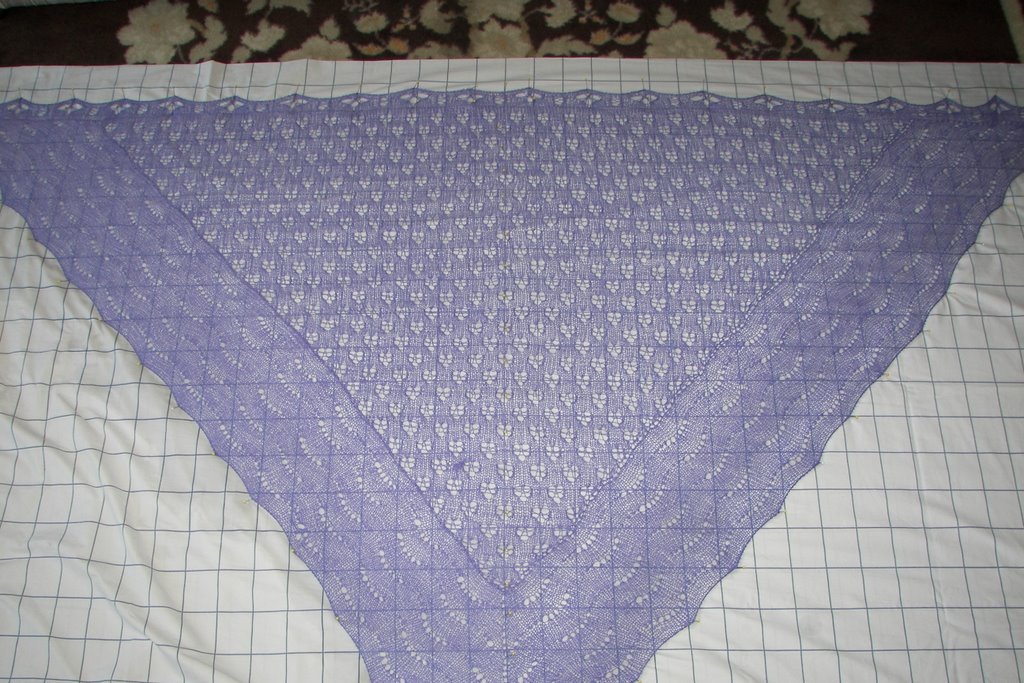
 Step 6: On one end of the scarf, pin out the points created by the seafoam stitch pattern; see below.
Step 7: With your hand, gently pull out the scarf until you have the degree of "airy-ness" that you want in the scarf. Mom, with the yarn you are using, you will need to stretch the scarf quite a bit to get it long enough to be a scarf.

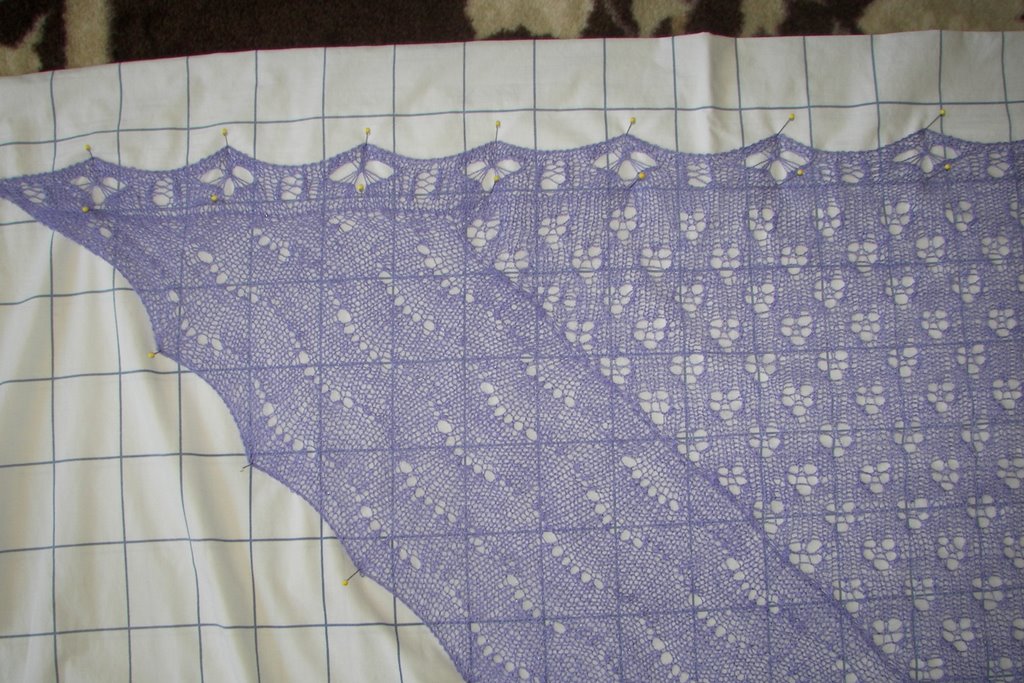
Don't worry, you stretch as you go with the pinning. The yarn won't break. As you can see in the photo, I put a pin at each segment along the edge where there is an accumulation of four ridges of garter stitch.

I also spread out the scarf width-wise as I pin, because when I stretched the scarf for length, the scarf got too skinny. The un-pinned section of the scarf is on the left of the photo above. The pinned portion is on the right of the photo.
Step 8: Now, after you have finished pinning out the scarf, with points pinned out on each end, you can check the seafoam ovals for perfection!
 Ah, HA! I found a wiggly strand in a seafoam oval!!! Look just to the right to the yellow-headed pin that is on the middle left of the scarf photo below! Baaadd, baaaadd, baaaadd!!!
 I would just leave it alone. But I know, Mom, that this will bug you to your grave! So, get out a pointy object, like a knitting needle, and stick it under that wiggly strand. Give the needle a tug.
 When you gently tug the strand, you will see or feel a neighboring strand move and become straight. Go in the opposite direction, gently tugging successive strands, until you have worked in the excess wiggles of that miscreant wiggly strand. For a moment, it will look as if you have created more of a mess than you had in the first place. Keep cool. As you work along, you will see that you have used up the excess and the oval now looks perfect. If it doesn't look perfect to you, just tug at the scarf as a whole around that area. It will all work in. See photo below for proof!
 See mom, I told you so! It will all work out in the blocking!! Good luck on your scarf!!! Hugs and kisses to you and Dad, and to the dogs and cats and humans at the places you are visiting!!
Love, Gail